
Dominus Gladiatus Arena Readiness Checklist
A Dominus Gladiatus arena readiness checklist: Fatigue, injuries, Health, morale, crowd, matchup, rules and reserve before you accept a purse.
Most arena losses in Dominus Gladiatus are decided before the gate opens. The fight card gives you the opponent's class, Health and traits, the crowd mood, the rules and the purse. If you check those against your fighter's Fatigue, injuries, morale and reserve, you can avoid the majority of preventable deaths.
Quick answer
Do not accept a fight unless the fighter is at Fatigue 0-2, injury-free, at full or near-full Health, free of low-morale traits, and matched against a class you can answer. The purse must cover at least one recovery cycle. If any line fails, skip the contract.
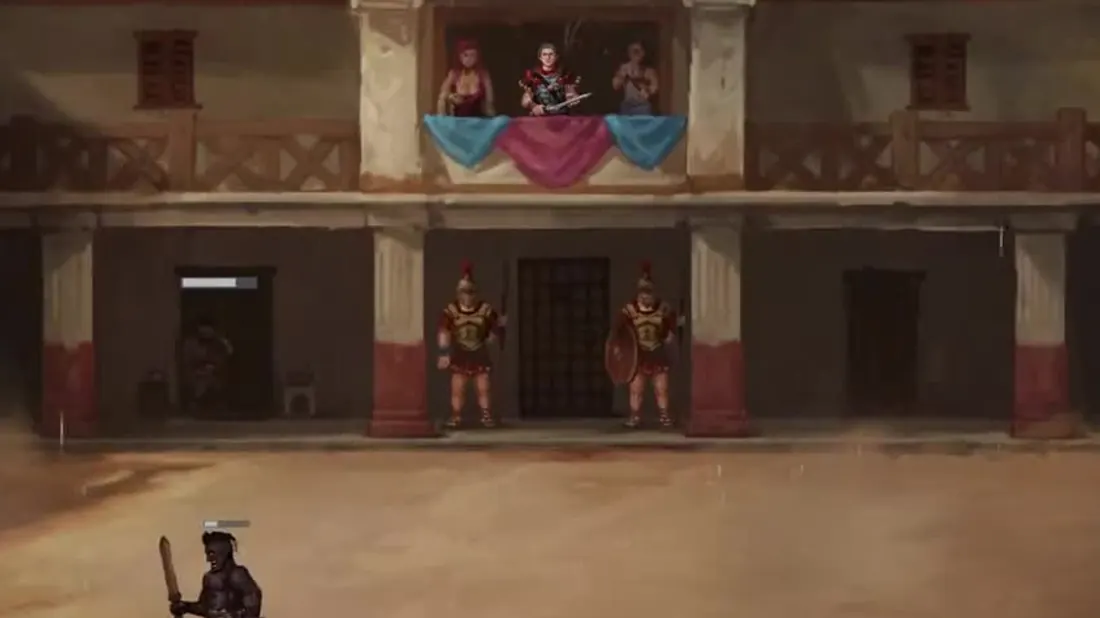
The ten-point pre-fight check
Run this in order. Stop at the first failure.
| # | Check | Pass condition |
|---|---|---|
| 1 | Fatigue | 0-2 for a normal fight; 3 only for a safe matchup |
| 2 | Injuries | None; Infirmary stay finished |
| 3 | Health | Full or close to full |
| 4 | Morale | No Theft or Refusal trait; no suicide risk |
| 5 | Class matchup | Your skills answer the opponent's class |
| 6 | Crowd | Liked or Indifferent; Disliked only for a disposable fighter |
| 7 | Rules | Until Surrender for a normal purse; To the Death only for an exceptional one |
| 8 | Purse | Covers recovery and still leaves a reserve |
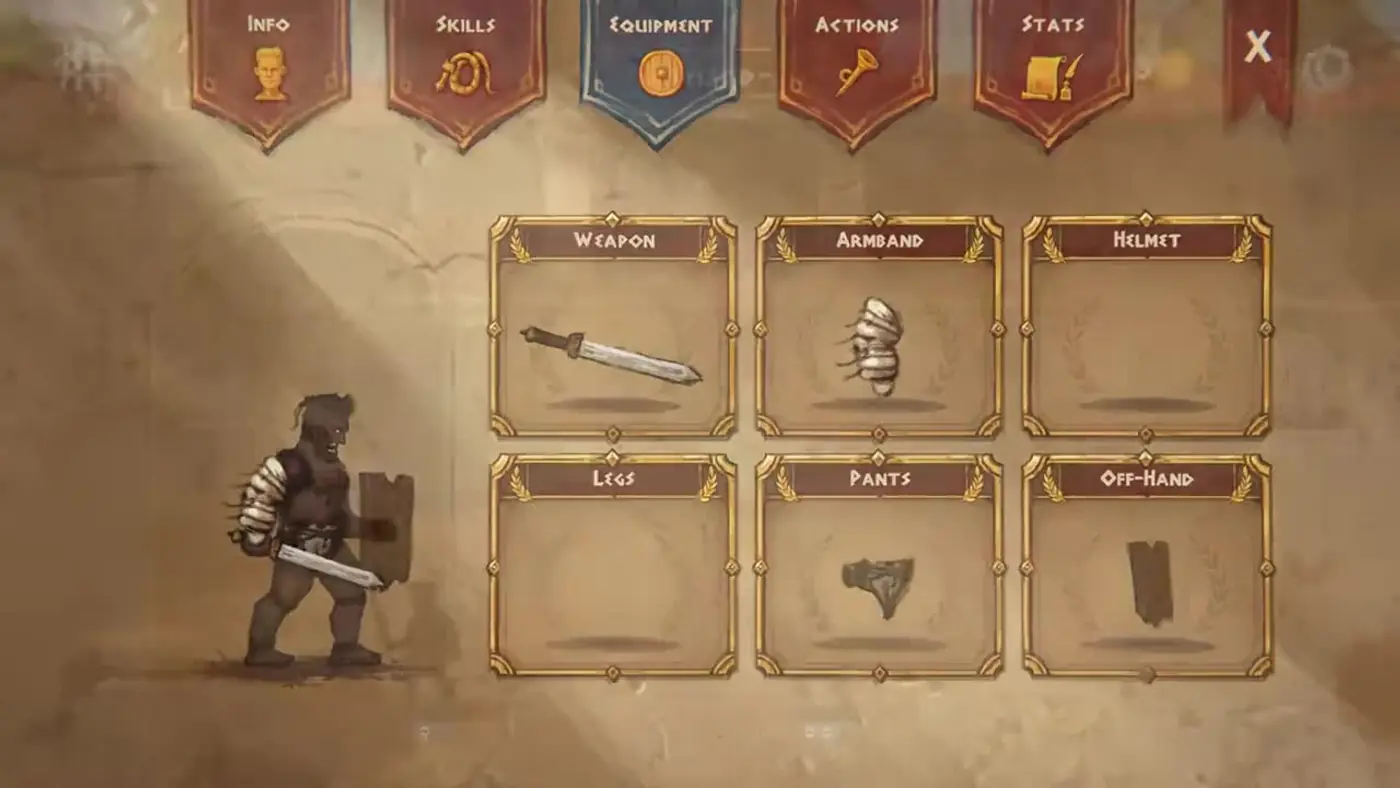
| 9 | Equipment | Weapon and shield/off-hand appropriate to the class |
| 10 | Training | No rank about to finish mid-fight if you need it |
The order is deliberate. Fatigue and injuries are non-negotiable; class and crowd are adjustable; the purse is last because a rich reward cannot fix a dead fighter.
Official source: Dominus Gladiatus store page ↗
How do you read the fight card?
The card shows:
- City: the venue, which is flavour rather than a mechanical modifier in the build I checked.
- Rules: Until Surrender or To the Death.
- Purse: the coin reward.
- Crowd: Indifferent, Against You, or Liked.
- Countdown: days until the bout.
- Opponent tooltip: class, Health and traits.
Read the opponent's class first. A Retiarius against a Secutor without Net Breaker is a different fight than a Murmillo against a Scissor. The classes guide → maps the matchups.
Read the crowd second. A Disliked crowd removes up to two calls from your plan, which is a real stat penalty in a close fight.
Read the purse last. If the fight is bad, the purse is irrelevant.
What does "ready" mean numerically?
A useful definition:
- Fatigue 0-2: the injury risk is at the base win/loss chance, not the 25/50/100 fatigue band.
- Health above 80%: enough buffer to survive a bad opening exchange.
- No injury: an injured fighter is not at full combat effectiveness.
- No low-morale trait: refusal removes the fighter from the card; theft costs coins.
- One crowd call available: Liked gives two, Indifferent gives one, Disliked gives none.
If the fighter is at Fatigue 3 but the matchup is safe and the purse is large, the 25% injury chance can be rational. If the fighter is at Fatigue 3 and the opponent counters them, the same 25% is a bad bet.
How do you value the purse?
Compare the purse with the cost of the worst plausible outcome, not with the best plausible outcome.
A simple valuation:
| Outcome | Cost |
|---|---|
| Win, no injury | +Purse, +1 Fatigue |
| Win, injury | +Purse, -Infirmary days, -training |
| Loss, no injury | +0 or partial, +2 Fatigue, morale hit |
| Loss, injury | +0, +2 Fatigue, -Infirmary days, morale hit |
| Death | -Fighter, -equipment, -Ludus morale |
A 40-coin purse is not worth a 50% injury chance if the Infirmary stay costs 20 coins and four days of income. A 70-coin purse might be worth the same risk if the fighter has a replacement and the reserve is healthy.
The money guide → has the full daily-burn model.
What should you do after the fight?
Return to the Ludus before booking anything else. Injuries are revealed there, and the Fatigue counter is updated.
Post-fight routine:
- Check the INFO card for a new injury.
- If injured, admit to the Infirmary and plan the full stay.
- If Fatigue is 3+, send to the Quarters.
- If morale dropped, check for a new low-morale trait.
- Only then consider the next contract.
Skipping the return step is how players stack a second fight on an injured fighter. The game will let you; the Infirmary bill is the consequence.
A fighter who just won at Fatigue 2 is at Fatigue 3. The next fight is already in the 25% injury band. Rest first, or accept that the second purse is paying for the Infirmary.
Does the arena city matter?
In the build I checked, the city name on the card (for example OSTIA) is the venue, not a stated combat modifier. The mechanical variables are the rules, purse, crowd and opponent.
Do not overplan around the city. Plan around the class, Health and crowd.
A quick decision example
You have a Secutor at Fatigue 2, full Health, no injuries, and a 55-coin Until Surrender offer against a Retiarius. You have Net Breaker at rank 1. The crowd is Indifferent.
- Fatigue: pass.
- Injuries: pass.
- Health: pass.
- Morale: pass.
- Matchup: Net Breaker answers the net; pass.
- Crowd: one call; pass.
- Rules: surrender allowed; pass.
- Purse: 55 coins covers a recovery cycle; pass.
Accept. The same card against a Murmillo with your Secutor at Fatigue 3 and a Disliked crowd is a skip, even if the purse is 70.
Official source: Dominus Gladiatus achievements ↗
Official source: Steam news ↗
FAQ
Should I ever fight at Fatigue 3? Only for a safe matchup, a disposable fighter or a purse that solves a real problem. The 25% injury chance is not trivial.
Is To-the-Death ever worth it? For an exceptional purse with a replaceable fighter and full Health. Not for your main carry on a normal card.
Do injuries show before the fight? Existing injuries are visible on the INFO card. New injuries from the fight are revealed when you return to the Ludus.
What if I have no reserve? Skip the fight and take a 20-coin exhibition or sell a weak gladiator. Debt is worse than a missed purse.
More Dominus Gladiatus Guides
Dominus Gladiatus best build guide: Health vs damage, skill order for Murmillo, Secutor and Scissor, Veteran bonuses, equipment priorities and team-fight roles.
Dominus Gladiatus best gladiators tier list: Health, talents, temperament and class value, plus when to buy, keep or sell a recruit from the Slave Market.
All six Dominus Gladiatus Domini: Titus Aurelian, Khepri Setekh, Cassius Lysandros, Aurelia Zahara, Livia Calpurnia and Decimus Amborix, powers and counterplay.
Twelve Dominus Gladiatus tips that prevent early run deaths: fatigue management, market discipline, morale warnings, crowd calls and upkeep traps.
How Dominus Gladiatus endgame contracts work after the Grand Tournament: 10-fight batches, 1v1 to 5v5, beast spectacles, rising upkeep and retirement.
Dominus Gladiatus equipment guide: weapon, shield, helmet, legs, armband and pants stats, block chance vs damage reduction, weapon range and spending priority.
How exhibition matches work in Dominus Gladiatus: Ordinator setup, 20-coin base reward, +3 per arena win, cooldowns and when the low-risk income is worth it.
A practical Dominus Gladiatus first 10 days build order: recruit choice, Quarters timing, Palus and Doctore purchases, training blocks and safe arena purses.